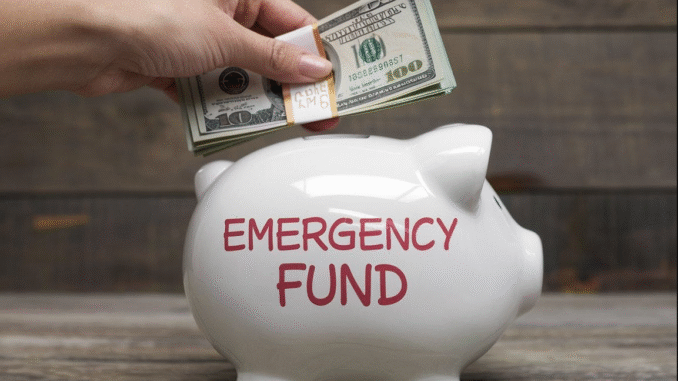
How to Build an Emergency Fund: A Step-by-Step Guide
Life is unpredictable. A sudden job loss, medical emergency, car repair, or unexpected travel can throw your finances into turmoil if you’re not prepared. That’s where an emergency fund comes in. It’s a financial safety net designed to protect you from life’s uncertainties. In this article, we provide a detailed, step-by-step guide to building an emergency fund that offers peace of mind and financial stability.
Why You Need an Emergency Fund
An emergency fund is money set aside to cover unexpected expenses. Unlike credit cards or loans, it doesn’t incur interest and doesn’t require repayment. It’s there to keep you financially afloat during tough times without derailing your long-term goals.
Common uses for an emergency fund include:
- Medical bills
- Car or home repairs
- Sudden unemployment
- Emergency travel
- Unexpected living expenses
Having this fund reduces stress, helps avoid debt, and provides time to make thoughtful decisions during emergencies.
Step 1: Set a Savings Goal
The first step in building an emergency fund is determining how much you need. Financial experts typically recommend saving between three to six months’ worth of living expenses. However, the right amount for you depends on your lifestyle, job security, number of dependents, and monthly obligations.
Start small if that feels more achievable. Even a $500 to $1,000 fund can help cover minor emergencies and provide peace of mind. As your financial situation improves, increase your goal.
Step 2: Analyze Your Expenses
To determine your savings target, calculate your essential monthly expenses. These typically include:
- Rent or mortgage payments
- Utilities (electricity, water, internet, etc.)
- Groceries
- Insurance premiums
- Transportation (gas, public transit, car maintenance)
- Minimum debt payments
Exclude non-essentials like dining out, entertainment, and subscriptions. Multiply the total by the number of months you want your fund to cover.
Example:
If your essential expenses total $2,000/month, a 3-month emergency fund would be $6,000.
Step 3: Open a Dedicated Savings Account
Keep your emergency fund separate from your daily spending accounts to reduce temptation. A high-yield savings account is ideal, as it earns more interest than a regular savings account and still allows easy access in emergencies.
Make sure the account has:
- No monthly maintenance fees
- FDIC insurance (if in the U.S.)
- Fast and easy withdrawals
Avoid investing this money in stocks or other high-risk vehicles, as the value can fluctuate and delay access when you need it most.
Step 4: Create a Monthly Savings Plan
Consistency is key when building your emergency fund. Treat it like a recurring expense by allocating a fixed amount from each paycheck.
Tips to make saving easier:
- Automate your transfers: Set up automatic transfers from checking to savings.
- Start small: Even saving $20 to $50 a week adds up over time.
- Use windfalls: Allocate tax refunds, bonuses, or cash gifts toward your fund.
If your income is irregular, aim to save a percentage (e.g., 10%) of whatever you earn each month.
Step 5: Cut Expenses and Boost Income
If money is tight, look for ways to free up cash:
- Cancel unused subscriptions or memberships
- Cook more meals at home
- Shop with a list and avoid impulse buys
- Opt for free or low-cost entertainment options
You can also boost your income by:
- Taking on freelance or side jobs
- Selling unused items
- Monetizing hobbies or skills
Redirect any savings or extra earnings directly to your emergency fund.
Step 6: Monitor Your Progress
Regularly review your savings to track progress and stay motivated. Use budgeting apps or spreadsheets to visualize how close you are to your goal.
Celebrate milestones—reaching your first $500, $1,000, or full goal—to maintain momentum.
Revisit your savings strategy quarterly to make adjustments based on:
- Changes in income or expenses
- Reaching financial goals
- Unexpected costs that required withdrawals
Step 7: Use It Only for Real Emergencies
Your emergency fund should be used only for unplanned, necessary expenses. Avoid dipping into it for wants, such as vacations or shopping sprees. Ask yourself these questions before making a withdrawal:
- Is this expense urgent and unexpected?
- Is it necessary for my health, safety, or ability to earn an income?
If the answer is yes, use the fund guilt-free. Afterward, rebuild the amount you used as soon as possible.
Step 8: Replenish After Use
If you need to tap into your emergency fund, don’t panic. That’s what it’s there for. Focus on replenishing the amount as soon as you can using the same strategies:
- Resume monthly savings
- Use bonuses or windfalls
- Cut back on spending temporarily
Make rebuilding a priority so you’re prepared for the next emergency.
Step 9: Stay Committed for the Long Haul
Building an emergency fund is a marathon, not a sprint. Stay patient and consistent, even when progress feels slow. Life may throw curveballs, but your financial cushion will help you face them with confidence.
Having a fully funded emergency reserve transforms your relationship with money. You’ll experience less anxiety, avoid debt traps, and feel more in control of your finances.
Final Thoughts
An emergency fund isn’t just a financial tool—it’s a form of self-care. It ensures you’re prepared, no matter what life throws your way. By following this step-by-step guide, you’ll create a fund that protects your financial well-being and empowers you to handle unexpected events without panic.
Start today with what you have. The most important step is simply beginning. Every dollar saved is a step closer to financial peace of mind.

